Tutorials
- Discovering examples
- Building compact discrete domains
- Introduction to input file
- Plugins and input files
- Initialize project
- Initialize your first custom plugin
- Implement your first custom plugin
- Run your first project (You are here)
- granoo-viewer usage
- Inputs/Outputs with GranOO
- Building a very simple tensile test
- Using numerical sensor
This page describes how to run your first project
Prerequisites
You must follow the previous tutorial steps before starting this tutorial. Before continuing, please check that your current project structure looks like :
.
├── build
├── CMakeLists.txt
├── Main.cpp
├── my-project.inp
├── PlugIn_BuildDomain.cpp
└── PlugIn_BuildDomain.hpp
.
├── Main.py
├── my-project.inp
└── PlugIn_BuildDomain.pyCompiling your project
To compile your project simply type
:prompt: cd build && cmake ../ && make && cd ../If you get a problem here, please check your C++ source code.
Writting your .inp file
Now, you must build a new input file. Remind that you just want to build a simple
discrete domain, save it and exit. Create a new file named build-domain.inp and put inside the
following xml code.
<GRANOO Version="3"  OutDir="MyDomain" Verbose="No" ThreadNumber="1">
  <STEP Label="pre-processing">
    <BuildDomain Length="1" Radius="0.1" Number="5"/>
    <SAVE-DOMAIN FileName="MyFirstDomain.agdd"/>
  </STEP>
</GRANOO>
Note the usage of the standard plugin SAVE-DOMAIN that saves the domain into a file.
Running your project
To run your project simply type
:prompt: ./build/my-project.exe ./build-domain.inp:prompt: python ./Main.py ./build-domain.inpThe simulation creates a new directory named MyDomain. You can change the name of this directory
by setting the attribute value OutDir of the <GranOO ....> tag. Typically, this directory
contains all result files of a simulation. In this case, this directory contains the
discrete domain file that you built with your custom plugin.
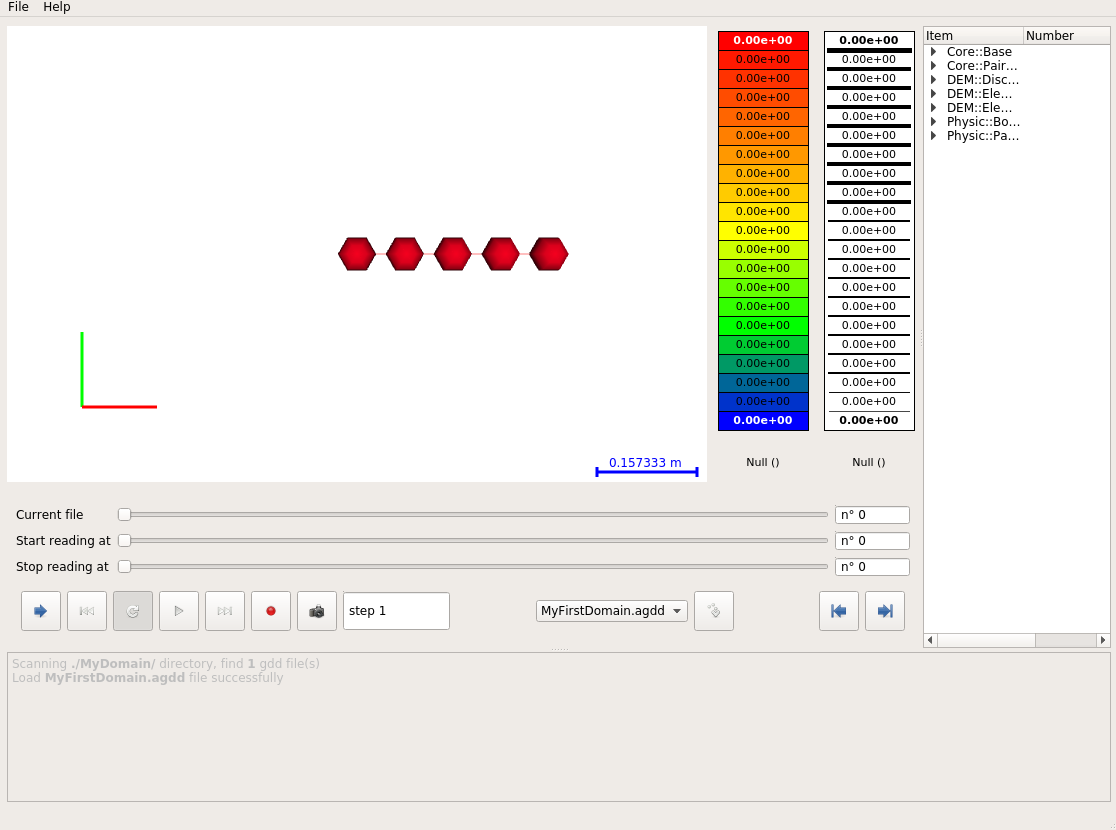
Viewing result
You can use here the granoo3-viewer that display in 3D the content of granoo domain files
:prompt: granoo3-viewer ./MyDomain/You must see, something like this :